How to Test a Large Group of Soccer Players: Speed & Change of Direction
Whether you’re a club S&C coach or an outside performance consultant, testing dozens or even hundreds of youth athletes can feel overwhelming. In this quick guide, I’ll walk you through our approach to efficiently assess large groups in key areas like speed, agility, change of direction, and reaction time.
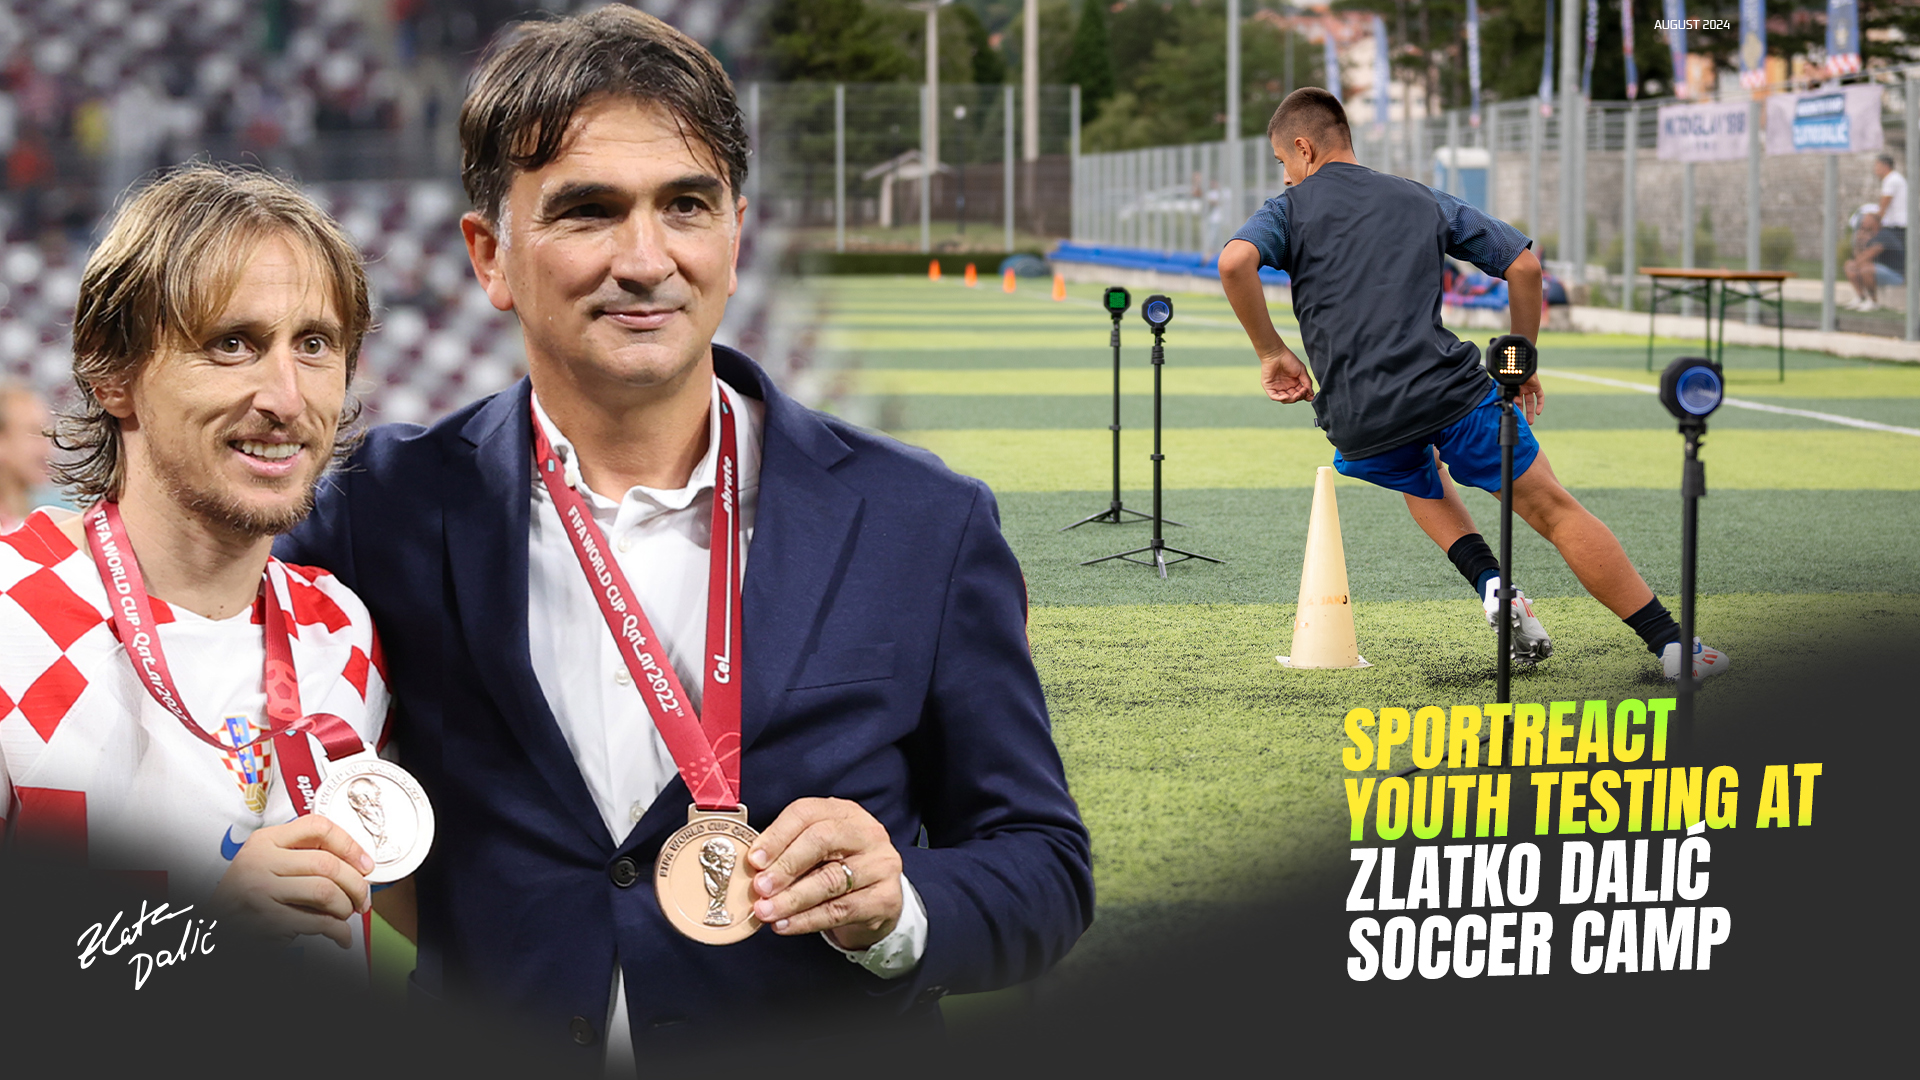
Everything you’ll read and see here is based on Sportreact’s recent testing at Zlatko Dalić's soccer camp in his hometown Livno. The event was a collaboration with NK Troglav and featured many legendary Croatian players. For those unfamiliar with Zlatko’s work, he was named the 2018 European Coach of the Year and has led the Croatian national team to silver and bronze medals in the 2018 and 2022 World Cups.
BONUS: Stick around until the end to grab the report (with normative data) we put together after the testing session!
1. Prepare for the Soccer Speed and Change of Direction Test Session
Key questions you need to consider before staring the testing session:
What’s the main goal of the testing session?
How many athletes are participating?
How many coaches will be involved?
How much time do you have for the testing?
What equipment will you use to collect data?
Setting the Right Test Objectives and Goals
While the specific objectives of a testing session will vary based on its purpose, the core goal remains consistent: gather data, analyze it, and interpret the results to gain valuable performance insights about the athletes. Here are four common types of large-group testing we typically encounter in soccer:
Club Testing: Assessing athletes who are already part of the club/academy.
Tryouts Testing: Evaluating athletes during a recruitment process.
Camp Testing: Conducting tests as part of a soccer camp experience.
Research Testing: Gathering data for a specific research study or thesis.
Group testing type
Testing Goal
Periodization
Primary Report Users
Results Comparison
Reliability and Validity
Club Testing
Gain performance and readiness insights across various teams
Create a leaderboard to compare results across competitors
Single session
Athletic directors, sports scientists, soccer coaches, and S&C coaches
Comparisons across all tryout attendees
Medium
Camp Testing
Share performance data with athletes and/or their parents
Single session
Parents, athletes, coaches
Comparisons across all camp attendees
Low
Research Testing
Test the hypothesis based on the research thesis
Single or multiple sessions
Scientists, students
Across the sample in the research
High
Use this short guide to set your own goals for the testing session. While there are various factors that differentiate these testing types, the process itself is quite similar, and the ultimate outcome is always a report with insights. How you use this report, and for what purpose, will vary from case to case.
Plan for athletes, coaches, and scheduling
Next, consider the size of the testing group, the number of coaches available, and the time you have. Here are some best practices:
Craft your roster of athletes
Having a list of athletes prepared before you step onto the field is crucial. It will save you a lot of time and help you conduct tests smoothly. I highly recommend using software tools to streamline this process and minimize errors.
Here are two important reasons to have a software-based list:
Track and Manage: With a list, you can easily track each athlete’s sequence and make adjustments if needed.
Real-Time Data Collection: Save and access results in real time, after the session is done, with a single click.
If you prefer going the manual route, using an Athlete Management System or a spreadsheet is definitely more efficient than jotting everything down on paper. Trust me, writing by hand can lead to a lot of problems.
Just a Heads-Up:
Expect drop-bys and missing athletes at almost every session.
Names lists might be incorrect occasionally.
Athletes often have the same first or last names, so using full names is a good idea.
Pro tip: Explore Sportreact as an effective system for organizing athletes and tracking their data:
Select Your Manpower
For large testing groups, split them into smaller groups of 10-20 athletes each. This approach will make the testing process more structured, organized, and effective. Set up one or more stations for performance testing, with each station dedicated to a specific test. You'll need one coach per station.
So, the formula is simple:
1 coach per station for every group of 10-20 athletes.
Just a Heads-Up:
Coach effort at the stations is generally light, so you can consider having interns or assistant coaches handle the timing.
Pro tip: Provide all coaches with access to the software that collects the data. This will enable them to evaluate results and make decisions promptly.
Make the Most of Your Time
The structure of your testing session will vary based on the time you have available. The duration will differ depending on the type of testing, your goals, and the specific tests you choose.
In soccer, standard speed, change of direction, or agility tests typically last between 5 to 30 seconds per athlete. However, you also need to account for the time it takes for athletes to get into the starting position, move out of the testing area, receive further explanations, and deal with any potential errors or interruptions.
Considering all these factors, you should allocate around 1-2 minutes per athlete per test. Ideally, you’d conduct three runs per athlete for each test, but this is often reserved for research purposes. If you have multiple groups of athletes, factor in additional time for rotating groups and re-explaining the tests.
For a group of 100 athletes, a single speed or agility test could take 3-4 hours. Plan time wisely.
Just a Heads-Up:
Youth athletes and kids often lose motivation after just a couple of tests, especially in large groups. To keep them engaged, try splitting the testing into different times throughout the day or across multiple days.
Pro tip: Set up different groups in your tracking software to clearly distinguish between each category
Choose the right soccer testing equipment
The final item on your preparation checklist is selecting the right testing equipment. This choice largely depends on your testing goals. For speed, change of direction, or agility tests, you'll need a timing system that ensures reliability and validity.
Timing System: You basically have two options: timing gates or manual stopwatches. I strongly recommend using timing gates rather than manual stopwatches. Manual stopwatches are outdated, prone to human error, and not very precise. Without mentioning that they lack any kind of automation or data analytics.
Additionally, some newer timing devices use proximity sensors or other technologies, but they often lack validation and reliability in scientific research. Therefore, standard laser beam timing gates are a more reliable choice for accurate results and are considered the gold standard for measuring speed and agility.
Have Timing Gates Ready
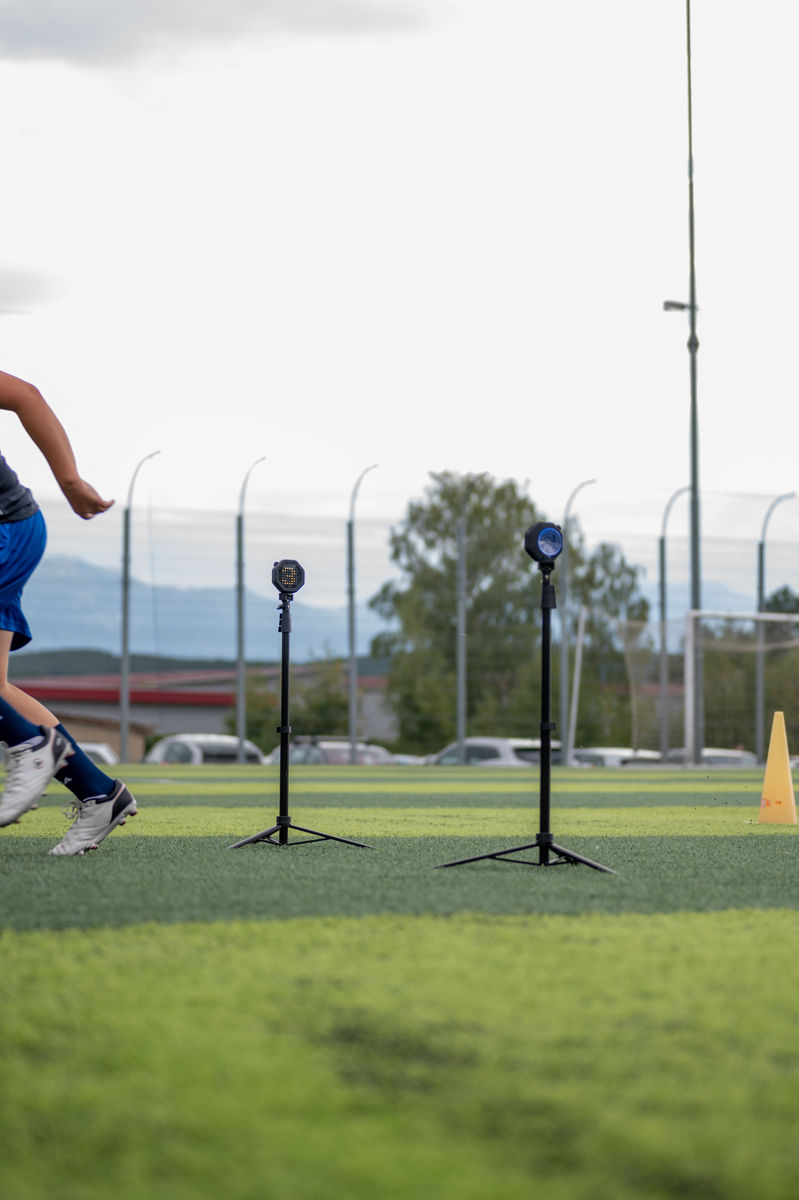
Timing gates come in various formats based on your needs. For most tests, a three-gate system is sufficient. However, if you need to time multiple splits in a test (like a 60-meter dash with splits every 10 meters) or run tests simultaneously, consider having additional gates ready.
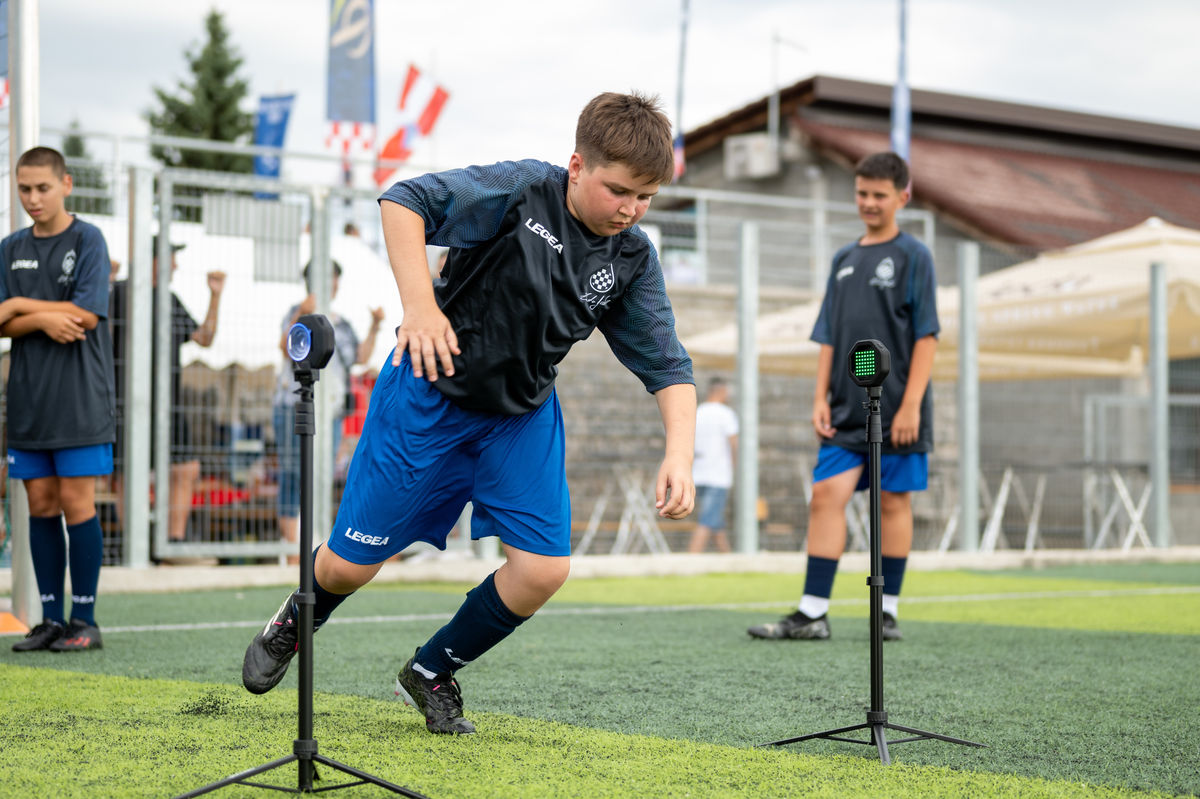
I recommend Sportreact timing gates because they’re super easy to set up and they help minimize errors. Unlike other systems that use separate emitters and receivers, Sportreact gates have both functions in each pod on each side. This makes setup a breeze and cuts down on alignment problems.
Make sure you have all the necessary accessories for the tests. This includes measuring tapes, cones, soccer balls, and anything else required for your specific tests.
Beyond these essentials, remember to consider the phase of soccer season, check weather conditions, ensure athletes are well-rested and energized, and confirm that you have enough space on the field.
Behind the Scenes: Our Prep for Zlatko Dalić’s Soccer Camp
So, how did we handle preparations for our recent camp? Since the camp focused mainly on technical and tactical aspects of the game, we used performance testing as a foundation to provide parents with a report on their kids' speed and change of direction abilities. Check out this video highlighting the Illinois Agility Drill.
Before the testing began, we gathered a list of all the kids attending the camp. We also had a few drop-ins just before the event, but our athlete management system and NFC Scan & Start Bands made it easy to handle.
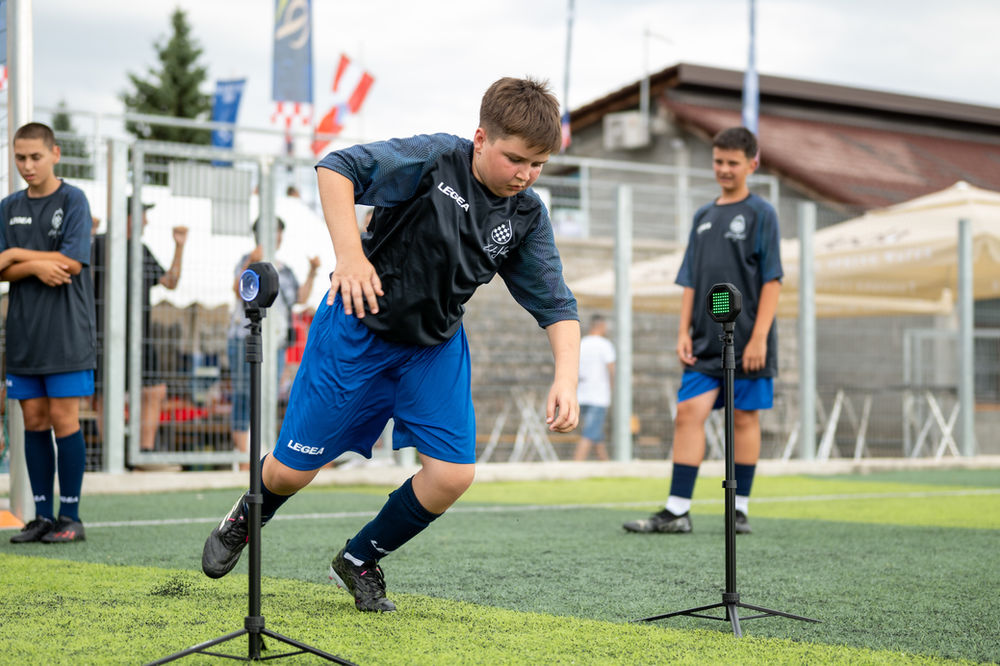
We had two coaches available but opted for just one testing station due to limited field space. A big thanks to Coach Ivica Vrgoc for helping us organize the session. We tested three age groups (U13, U14), rotating them on the field. Each age group was split into 3-5 smaller groups of 5-10 athletes.
The soccer coaches had set up several training stations (for ball control, dribbling, passing, etc.), and one of these was dedicated to our testing. The rotations between stations were smooth, and athletes arrived at our testing station already warmed up, which was a huge plus.
For timing, we used the Sportreact three-gate system to accurately time all the drills.
2. Choose the Right Speed and Change of Direction Tests
Depending on your goals, it's essential to choose the right speed, change of direction, or agility tests. In soccer, you might use various tests, from speed sprints and acceleration drills like the 10-meter to 40-yard dashes, to change of direction drills such as the T-test, 5-10-5 test, or the 3 cone test. From my experience, coaches at camps often select one sprint test and one change of direction test. Check out some common soccer tests and pick the ones that align with your goals.
If you want to step further with your testing capabilities, add a unique touch to your tests to gather more insightful data:
Test With and Without the Ball: Comparing these results can offer valuable insights. See the example of two different versions of T-test.
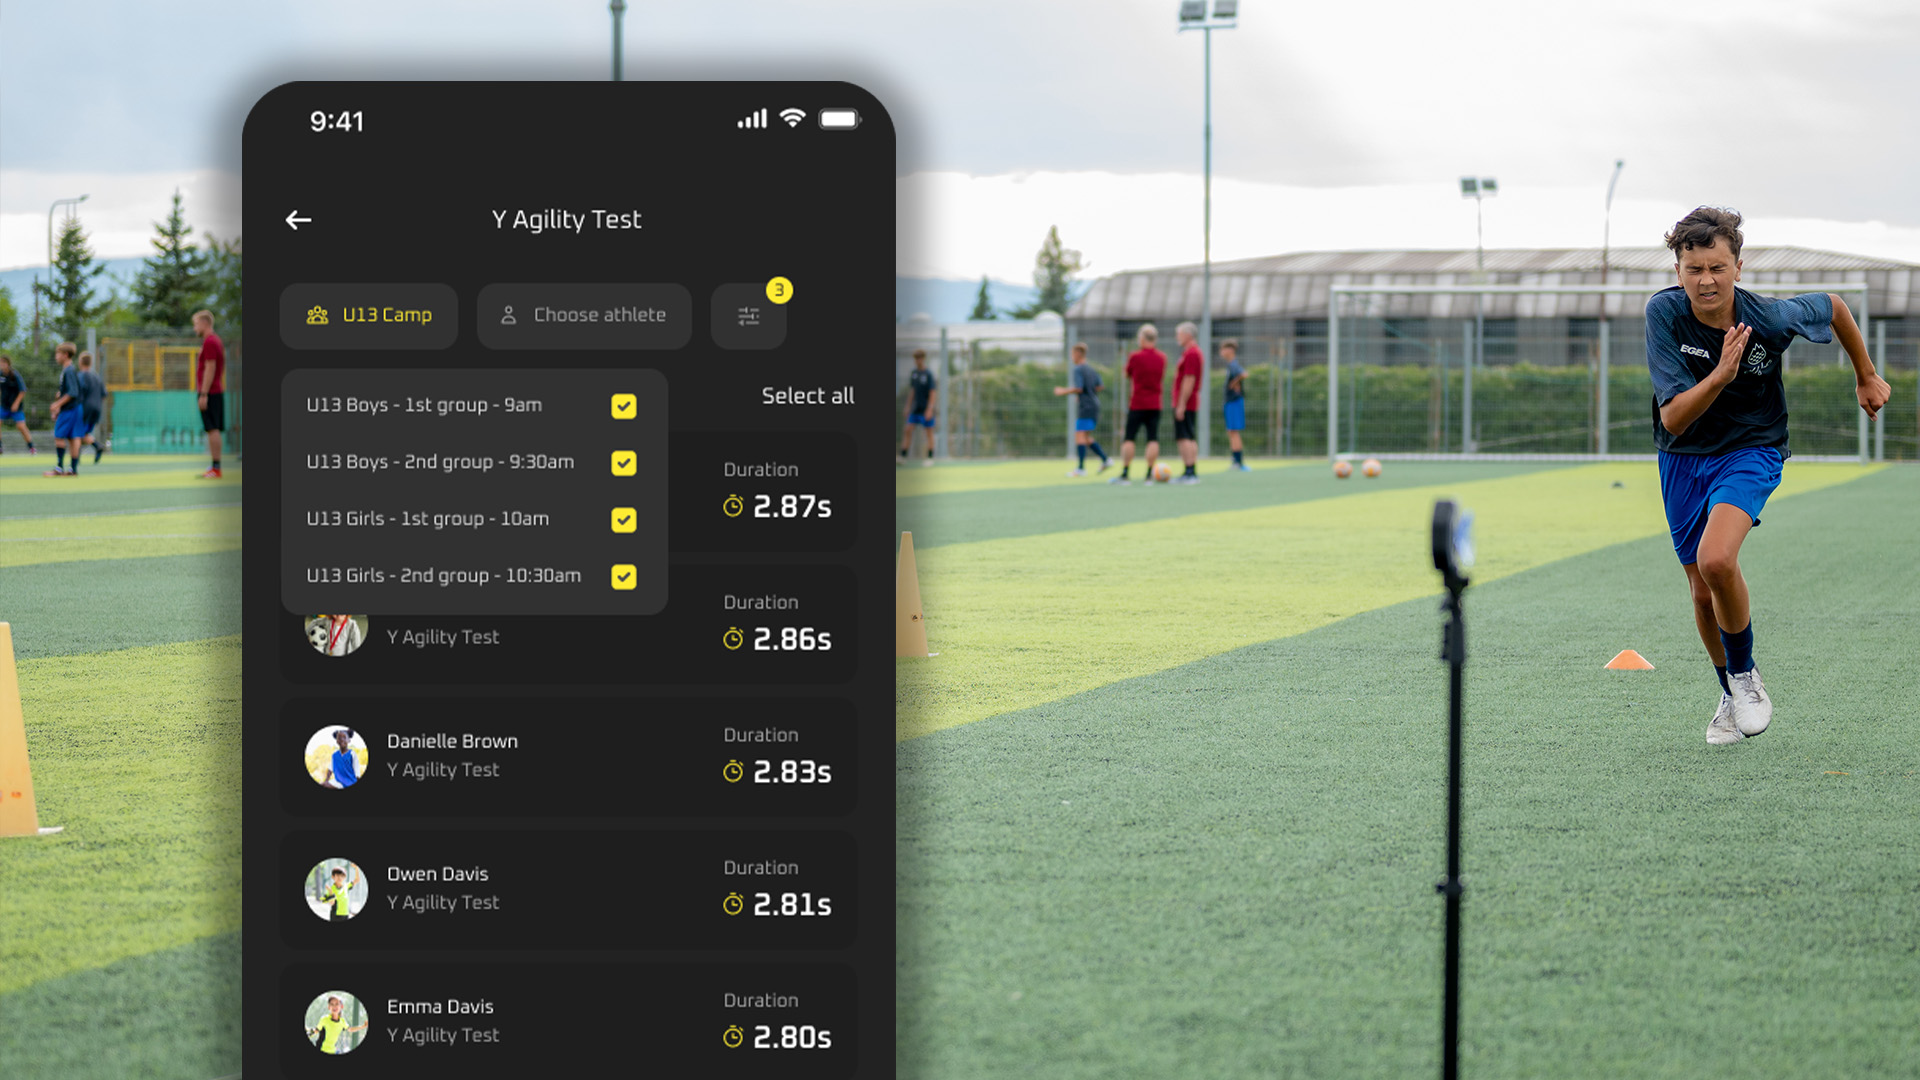
Include Standard Agility Drills: Change of direction tests can differ significantly from agility tests, as they introduce a cognitive element into the evaluation. Try tests like the Y-test or Stop'n'Go agility test, not just change of direction drills.
Create Custom Agility Tests: Elevate your testing with systems like Sportreact by adding cognitive stimuli such as colors, letters, numbers, or arrows. This approach measures speed, velocity, and reaction time while engaging athletes in dynamic, soccer-specific reactive agility tests with the ball. Check out these enhanced performance tests for next-level data.
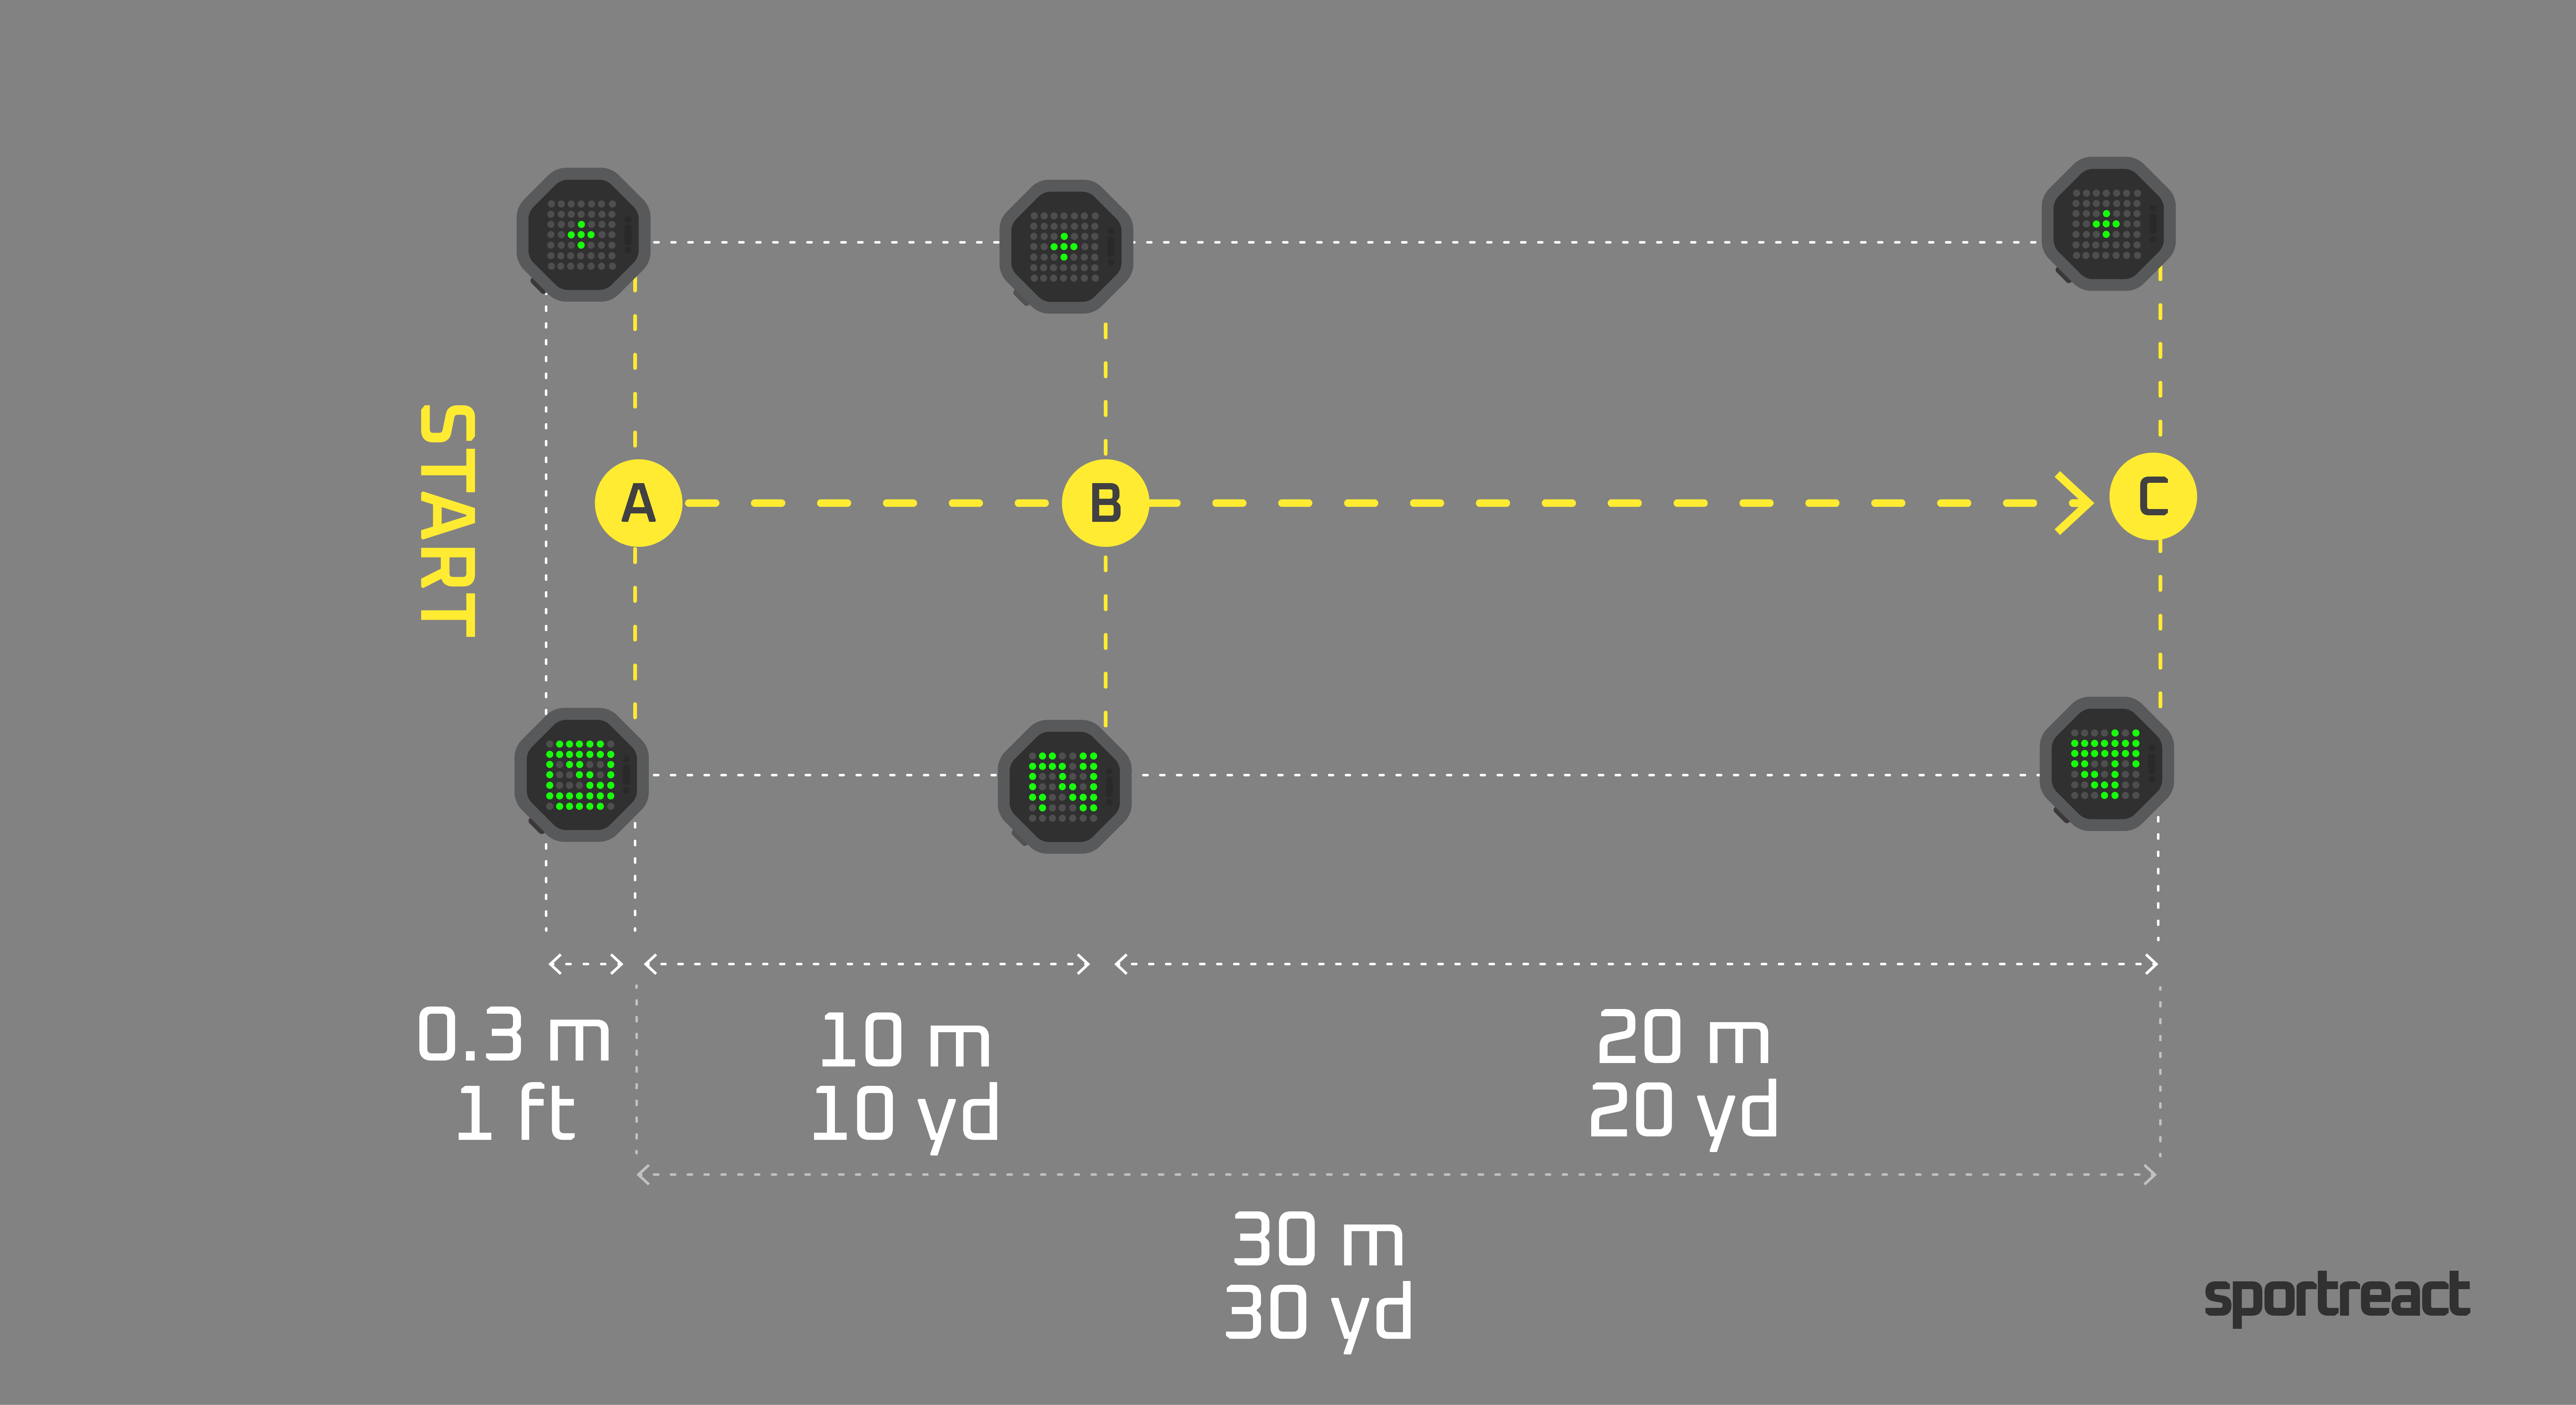
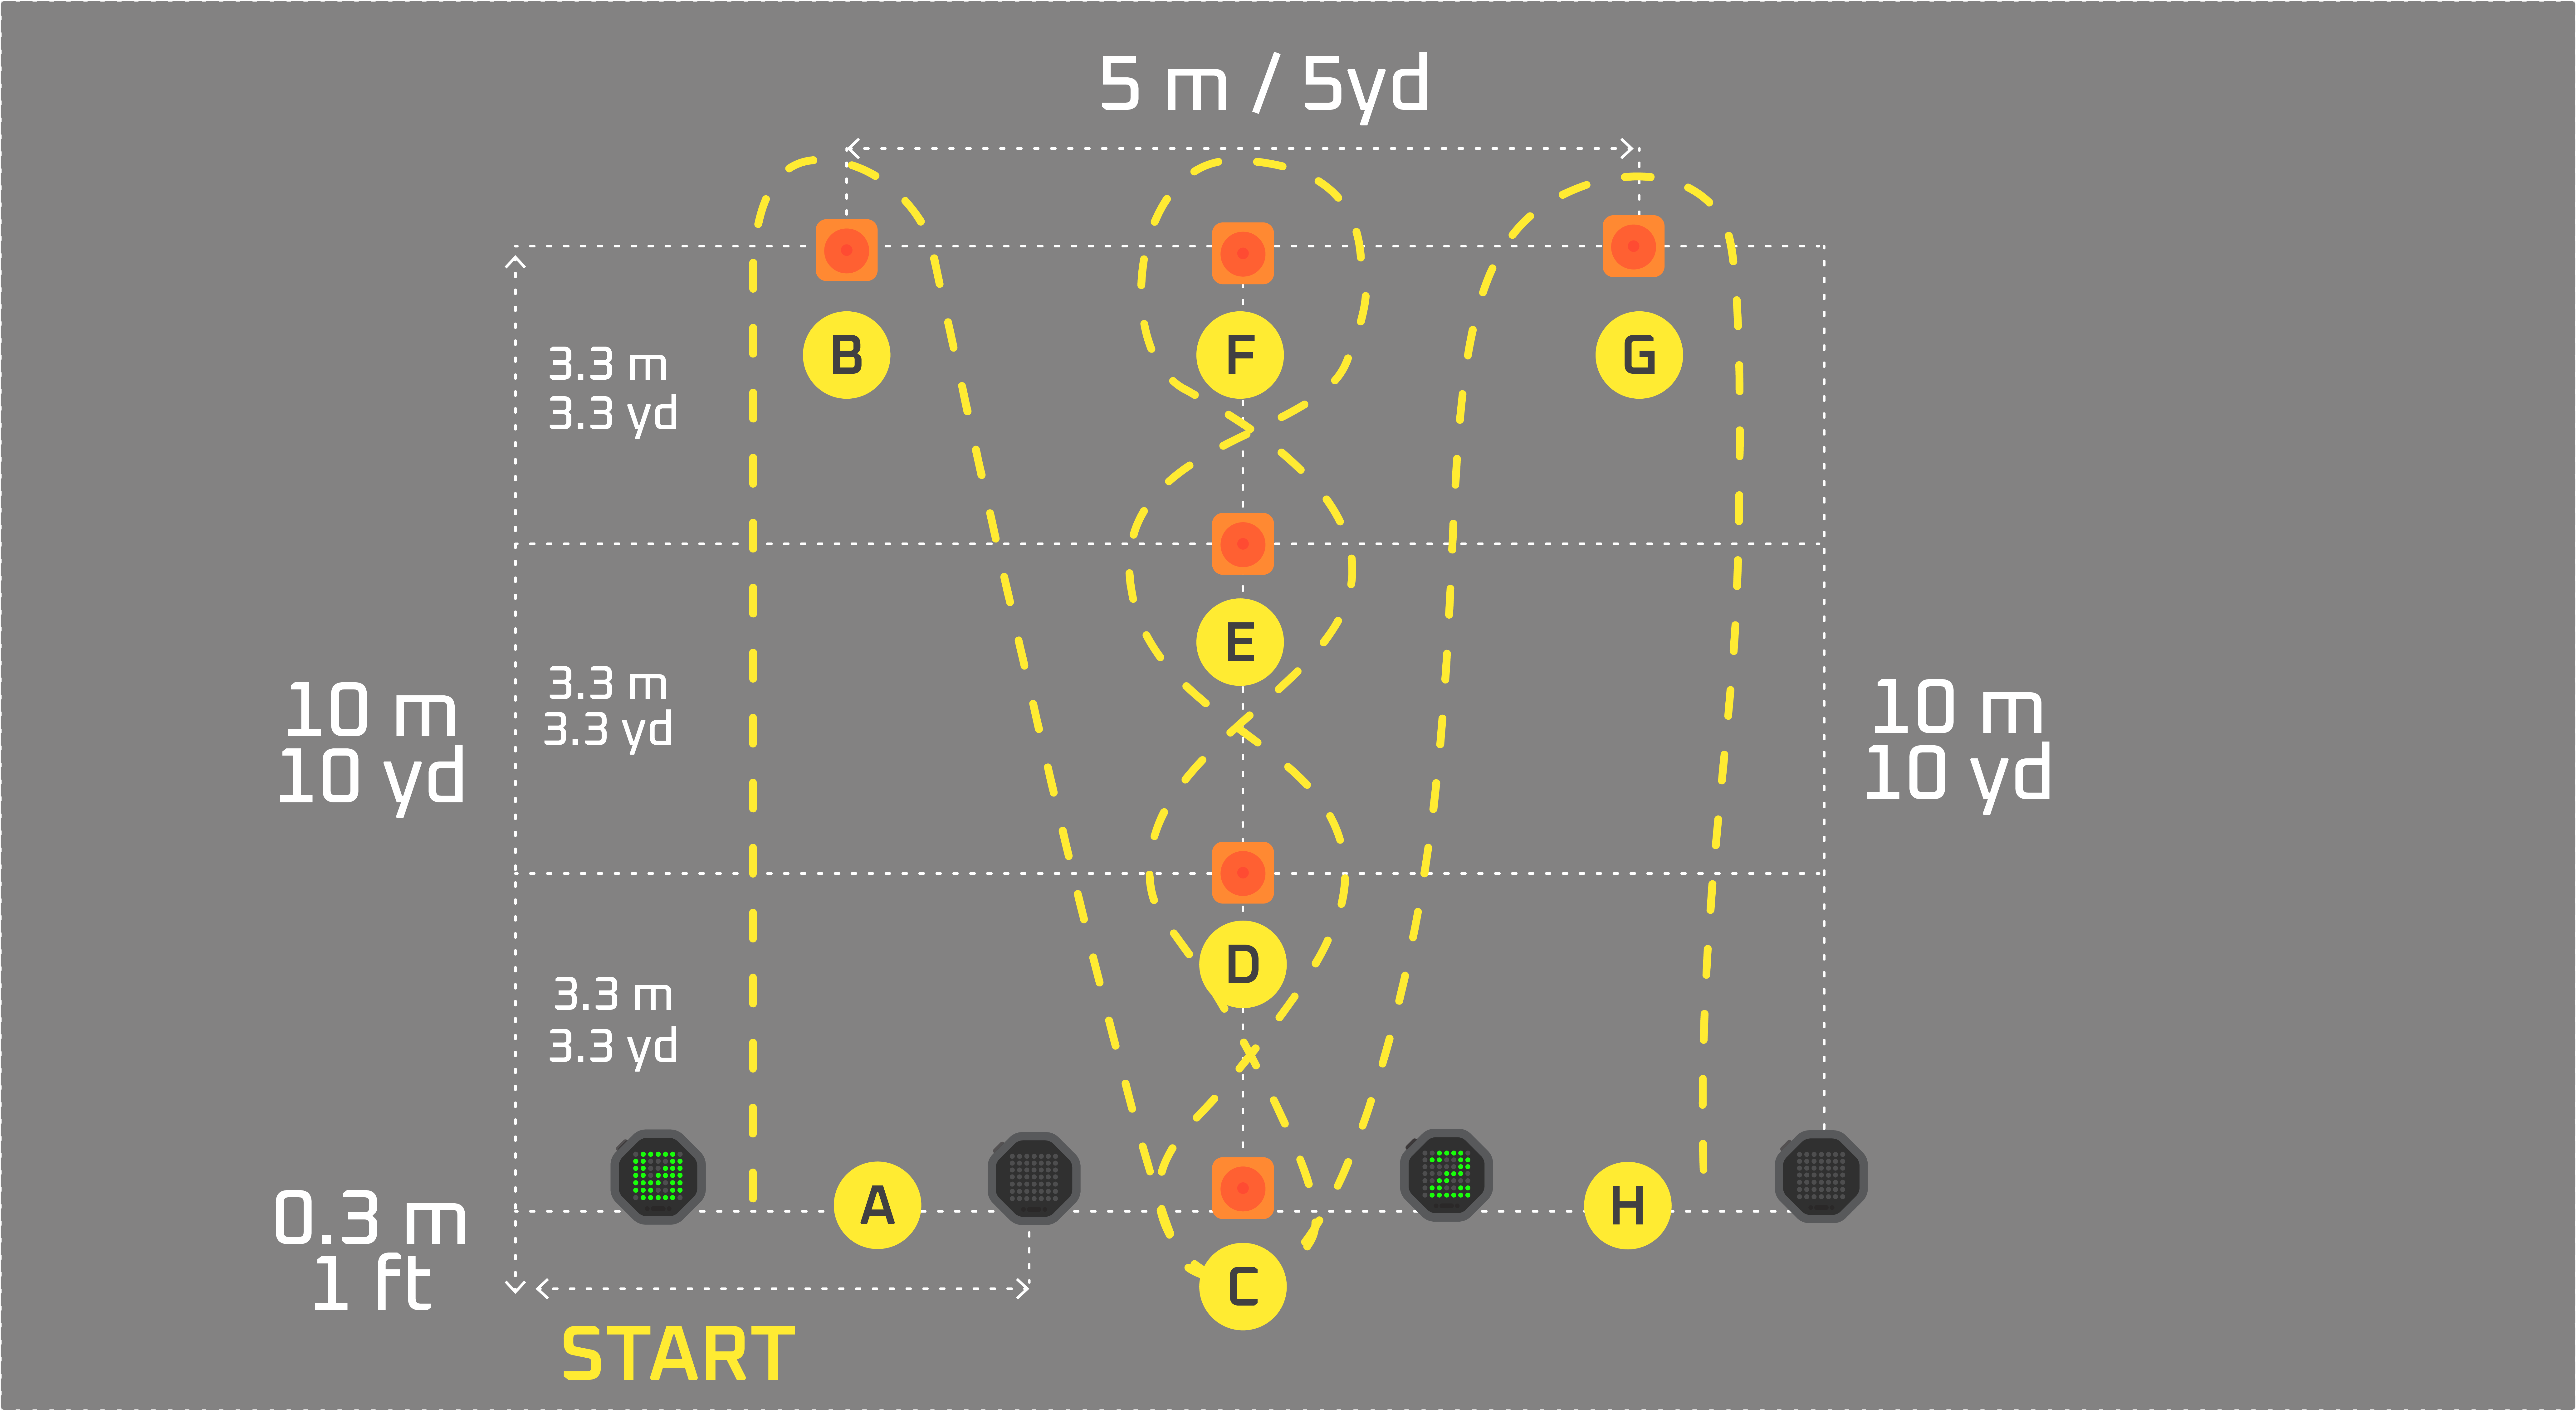
The 30-meter (or 30 yard dash) allowed us to measure acceleration in the first 10 meters (yards) and evaluate speed and velocity in the remaining 20 meters (yards). The Illinois Agility Test was chosen for its comprehensive nature, effectively assessing change of direction through various movements like side steps, rotations, accelerations, and decelerations.
Our goal was to provide parents with easy-understandable performance data. The chosen tests were straightforward to explain and comprehend, and as parents observed the events, they found the tests engaging to watch.
Sprint Test (10-30 Meters/yards)
This test measures both starting and maximum straight-line speed. The 10-30 meter/yards sprint is crucial in soccer for assessing a player’s acceleration and speed over short distances, which are vital for situations like chasing a ball or breaking away from defenders. It shows how quickly a player can reach top speed, essential for both attacking and defensive plays.
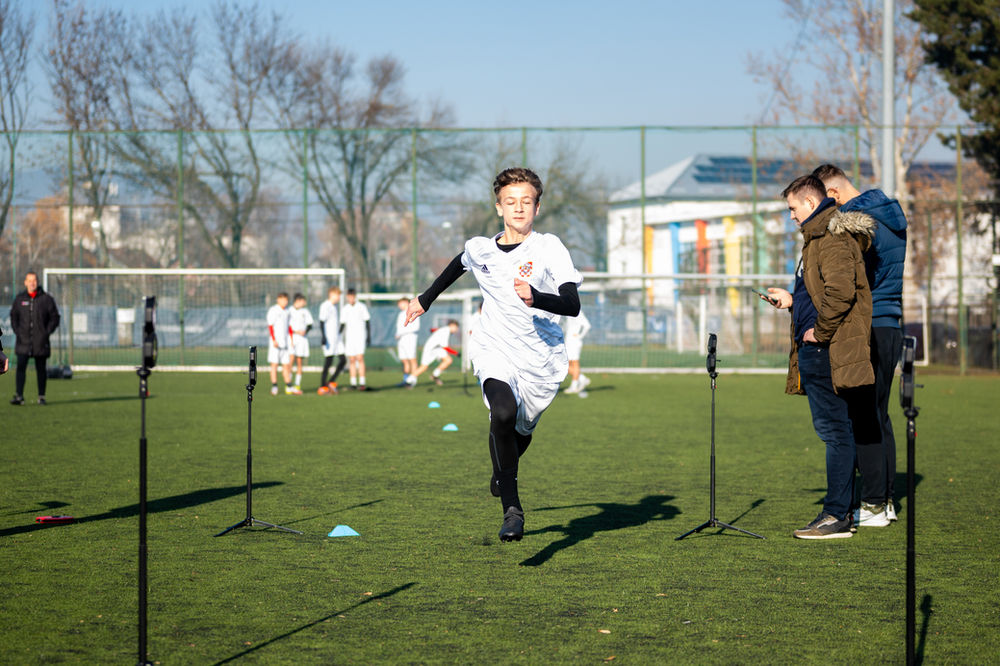
Procedure: Start in a split-stance position 0.3 meters (one foot) behind the starting line (A). Accelerate to maximum speed and pass through the timing gates at 10 meters/yards (B) and 30 meters/yards (C) as quickly as possible. Perform the test three times, following the same protocol each time, and use the average of the three attempts for the final result.
Illinois Agility Drill
This drill evaluates acceleration, deceleration, and change of direction (CoD). The Illinois Agility Drill is key in soccer because it measures a player’s ability to change direction quickly and efficiently, reflecting their agility and coordination on the field. It shows how well a player can maneuver through tight spaces and react swiftly to dynamic situations, which is crucial for both defense and attack.
Procedure: Start in a split-stance position 0.3 meters (one foot) behind the starting line (A). Accelerate 10 meters/yards straight to mark B, then circle around it, return to mark C, and continue with alternating changes of direction, zigzagging between four marks (C, D, E, F). Finish with a final acceleration to mark G, a semicircular turn, and a final sprint through mark H.
3. Perform the Speed and Change of Direction Tests
With your test book ready and preparations complete, it’s time to hit the field. Here’s a handy checklist to guide you through the testing session:
BEFORE TESTING
Choose Your Spot: Find a location on the pitch that won’t interfere with other ongoing events.
Plan Rotations: If you have multiple stations, organize the rotation order to be fast and efficient.
Set Up in Advance: Prepare the tests on the field while athletes are warming up in a different area to save time.
Consider Sun Position: Plan for the movement of the sun during the session, especially if you’re recording video.
Use a Tripod: Set up a tripod for your tablet to track data hands-free.
Mark the Field: Use a measuring tape for accurate testing dimensions and cones to mark key points.
Match the Scheme: Ensure the testing setup matches the original test protocol.
Repeatability: For custom agility tests, create a repeatable scheme for consistency in future testing.
Align Timing Gates: Position and align the timing gates according to your test scheme.
Warm-Up: Ensure all athletes are properly warmed up and ready before starting the tests.
DURING TESTING
Demonstrate Drills: Take a few minutes before each group starts to show them how to perform the drill properly. This helps minimize errors.
Organize Athletes: Call athletes based on your list or have them come to you by name—whichever method works best for you. Use a NFC Scan & Start wristbands to speed up the process
Voice Commands: Give clear voice commands for starting the runs, as athletes might not know the exact timing to begin. If you have a system for tracking, you will not need to do this manual work
Motivate: Use motivational encouragement to help athletes perform at their best.
Re-check Equipment: After each run, make sure to return cones or gates to their original positions if they’ve been knocked over. Use the right timing equipment to speed up the process
Manage Time: Keep track of the time to stay aware of how much time you have left for the session.
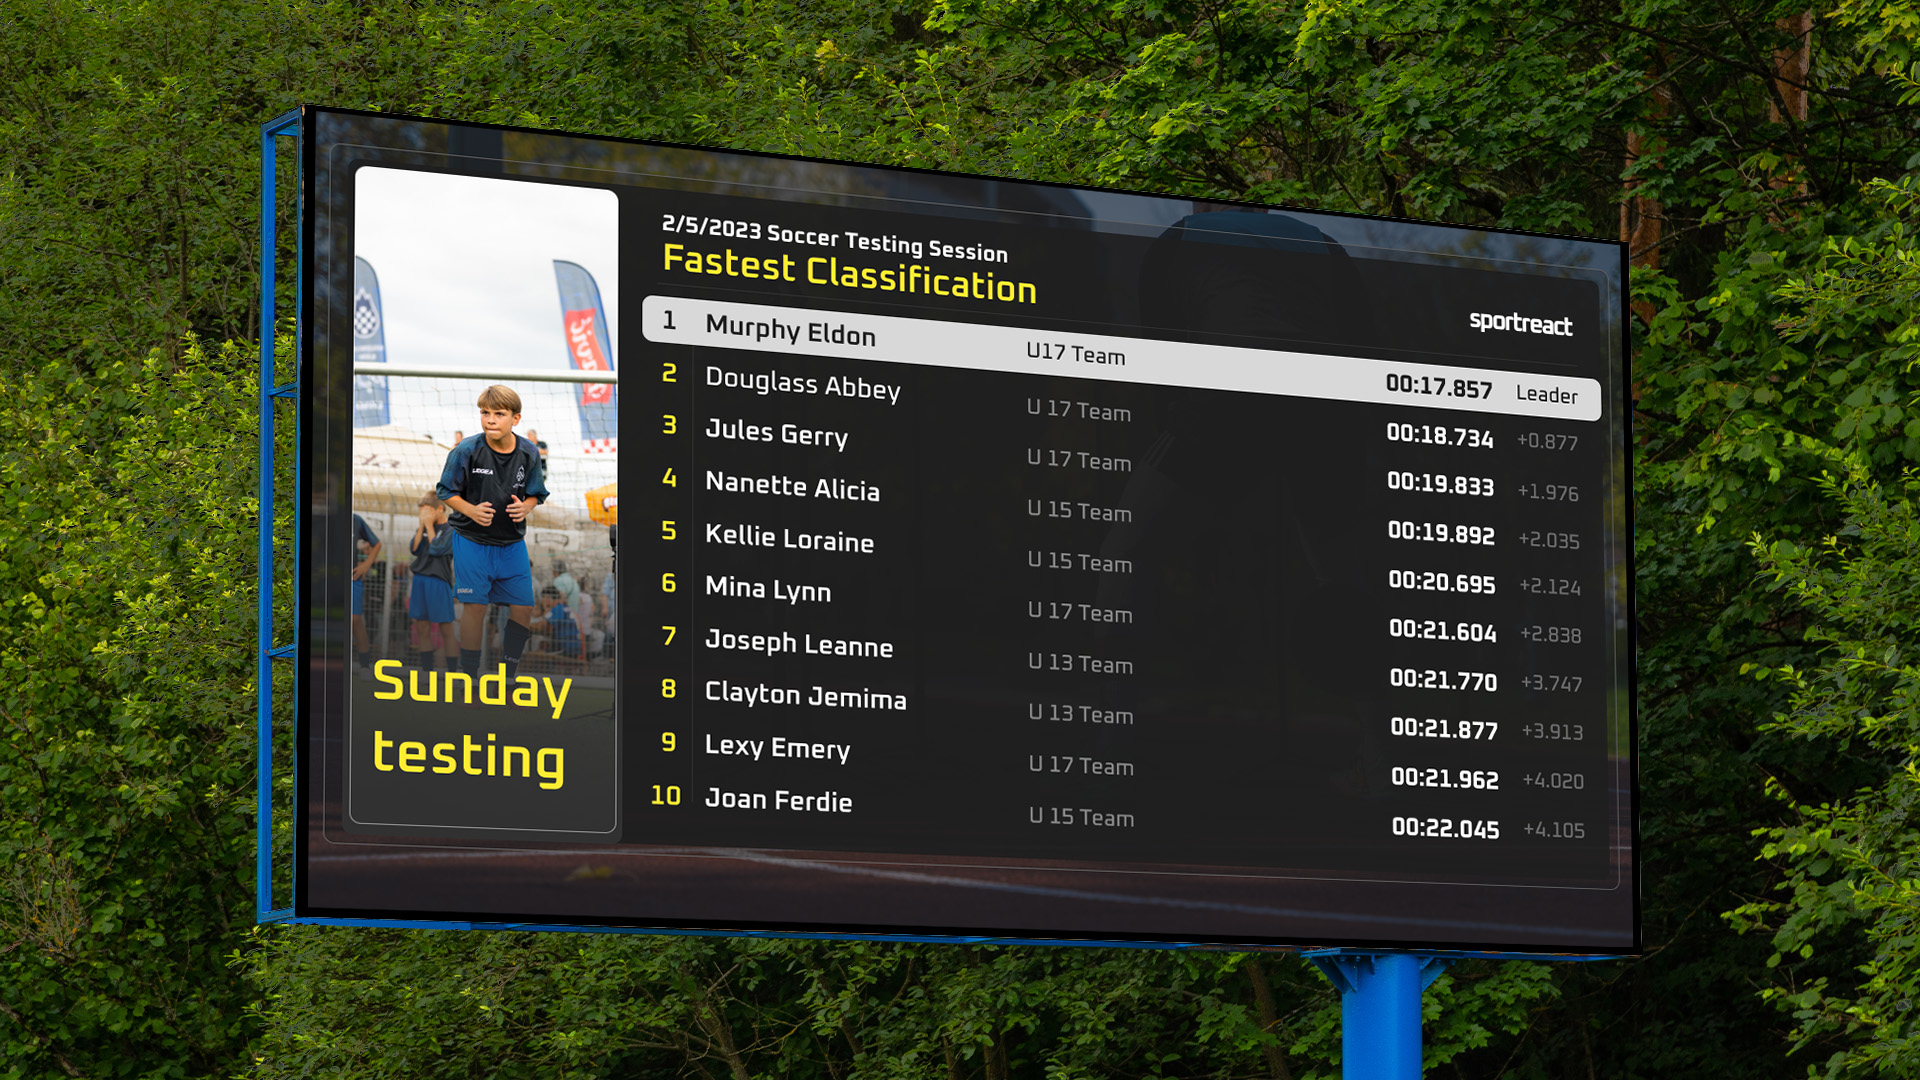
Announce Results: Shout out the timing results after each run so athletes and parents can hear their times immediately. Use live leaderboard to showcase results on the screen
Have Results Ready: Be prepared to provide athletes with their results promptly when they ask. It’s a nice touch to have their times available on the spot.
AFTER TESTING
Manage Enthusiasm: Be prepared for some eager athletes wanting to do additional tests. We usually allow them to.
Share Results: After each group finishes, provide them with their times. They’ll appreciate the feedback.
Reset Equipment: Ensure all cones and gates are back in their original positions before starting with the next group.
Wrap Up: Collect all equipment and tidy up the area once testing is complete.
Handling Timing Gates for Speed and Agility
As mentioned before, having a valid timing system is a must. To use timing gates effectively on the field, follow these best practices:
Accurate Placement: Position the gates at the start and finish lines of the sprint or drill. Ensure they’re aligned correctly to capture the exact moment a player crosses the line. For agility drills, place additional gates and reaction pods at key points.
Consistent Height: Set the gates at a consistent height, typically around hip level, to accurately detect the player’s body (usually the torso) as they pass through.
Use Multiple Gates: For complex drills involving various directions or segments, use extra gates to capture times at each segment. This helps break down and analyze specific parts of the performance.
Sync Equipment: Calibrate and test the timing gates before starting the session to avoid malfunctions during practice.
Provide Clear Instructions: Ensure players know exactly how to start, navigate through, and finish the drill for consistent and accurate timing.
Record Data: Utilize software to instantly record times, enabling quick feedback and thorough analysis later.
For tests like 60-yard dashes, place a main (sometimes called master or base) timing gate in the middle of the distance to ensure better connectivity and accurate timing.
Check Communication Channels: Verify the communication protocols for your timing gates, as indoor and outdoor facilities might have different requirements.
Distance Between Gates: Position the gates about 1.5 to 2 meters/yards apart. If needed, experiment with greater distances to ensure reliable timing.
Monitor Environmental Factors: Be aware that direct sunlight or wind can affect timing accuracy. Check conditions before starting or use a system like Sportreact to minimize such issues.
Top Pro Tip - If you have a screen available, display a live leaderboard during the testing. It’s a great way for coaches, athletes, parents, and everyone watching to get real-time updates on performance. Plus, it really amps up the competitive spirit among the kids! For an easy setup, check out Sportreact’s external leaderboard feature.
4. Create an Impactful Soccer Analytics Report
Alright, let’s get into the exciting part—what we’re really aiming for with this testing. The report is designed to deliver key insights into the performance metrics we've gathered. It not only provides a detailed comparison across the tested group but also includes normative data for standard tests. Our goal is to highlight the crucial takeaways so that everyone involved can better understand the results.
The structure of the report will vary depending on the type of group tested and the specific goals we set at the outset. In this article, I’ll focus on how to analyze and report data for soccer camps, though many principles apply across different testing scenarios. When working with large groups, especially over 100 athletes, it’s impractical to highlight individual results in the same way you might for one-on-one diagnostics. Instead, I recommend focusing on group-level analytics.
For speed and agility testing in soccer camps, concentrate on these key attributes:
Assessing Available Resources:
1. Timing System Metrics: Review the capabilities of your timing system to determine which speed and CoD metrics you can extract
2. Performance Parameters: Decide if you want to incorporate additional performance parameters alongside speed and agility results. Some useful metrics might include from testing Counter Movement Jumps (CMJ) or Velocity-Based Training Metrics
3. Additional Performance Metrics: Consider including other relevant metrics that can provide a fuller picture of an athlete’s capabilities. Reaction time is particularly useful for positions like goalkeepers, where quick decision-making is crucial. Tests could involve catching, diving, or other reaction-based drills.
Speed and agility Metrics to Include:
1. Total Time: Record the overall time it takes for athletes to complete tests, such as a 10-30 meter sprint mentioned above.
2. Acceleration Time and Velocity: Measure the time taken to reach maximum speed from a standing start and calculate the average velocity for segments like the first 10 meters in a 10-30 meter dash.
3. Sprint Time and Velocity: Track performance over specific distances at maximum speed, such as the second 20 meters in a 10-30 meter sprint, including average velocity.
4. Change of Direction Scores: Capture times from agility drills (e.g., Zig-Zag Agility Test) to assess a player's ability to change direction quickly.
5. Reactive Agility Scores: Integrate tests that involve reaction time (e.g., the customised Y test) and include metrics like total, average, fastest, and slowest reaction times, as well as hit/miss ratios.
Comparative Analysis:
1. Peer Comparison: Compare individual results to the camp’s average or top performers to provide context.
2. Position-Specific Benchmarks: Analyze results based on positional needs (e.g., defenders’ lateral movement vs. forwards’ acceleration).
3. Additional Benchmarks: Consider factors such as age, sex, location, and weather conditions to create more nuanced normative analyses.
Progress Tracking:
1. Improvement Over Time: For camps held multiple times a year, track athletes’ progress across different sessions to showcase development.
2. Pre- and Post-Camp Assessment: Compare initial and end-of-camp results to evaluate overall improvement, especially in longer-duration camps.
Heat Maps and Visualizations:
1. Movement Efficiency: Use heat maps to visualize movement efficiency in agility drills, highlighting areas where players may be losing speed or taking inefficient paths.
2. Visualization Techniques: Employ spider charts and other visual tools to present multi-dimensional data clearly and effectively.
Injury Risk Indicators:
1. Consistency and Fatigue: Identify inconsistencies in speed or agility as potential signs of fatigue or injury risk.
2. Balance and Coordination: Track performance in balance and coordination drills to highlight areas needing improvement to prevent injuries.
Actionable Recommendations:
1. Personalized Training Plans: Develop specific drills and exercises based on test results to address weaknesses and build on strengths.
2. Nutritional and Recovery Suggestions: Provide tailored recommendations for nutrition and recovery to support enhanced performance in speed and agility.
Reporting:
1. Report Structure: Focus on including data that is relevant and easy for youth athletes and their parents to understand.
2. Creating the Report: Use standard design principles to ensure clarity. The report should be straightforward and accessible, presenting data in a way that’s clear and comprehensible.
Just a Heads-Up:
Using a timing system with integrated data analytics software will save time and enhance reliability.
Keep the analysis straightforward and avoid technical jargon if the audience isn’t familiar with scientific concepts.
Clear charts and graphs can make the insights from the data easily understandable.
Include practical recommendations to ensure the report is actionable and useful.
Focus on practical insights and actionable steps rather than in-depth technical details.
How to Use the Sportreact System for Soccer Analytics
Using the Sportreact complete reactive agility system in your testing sessions offers numerous advantages. Here’s a brief overview of how to make the most of it:
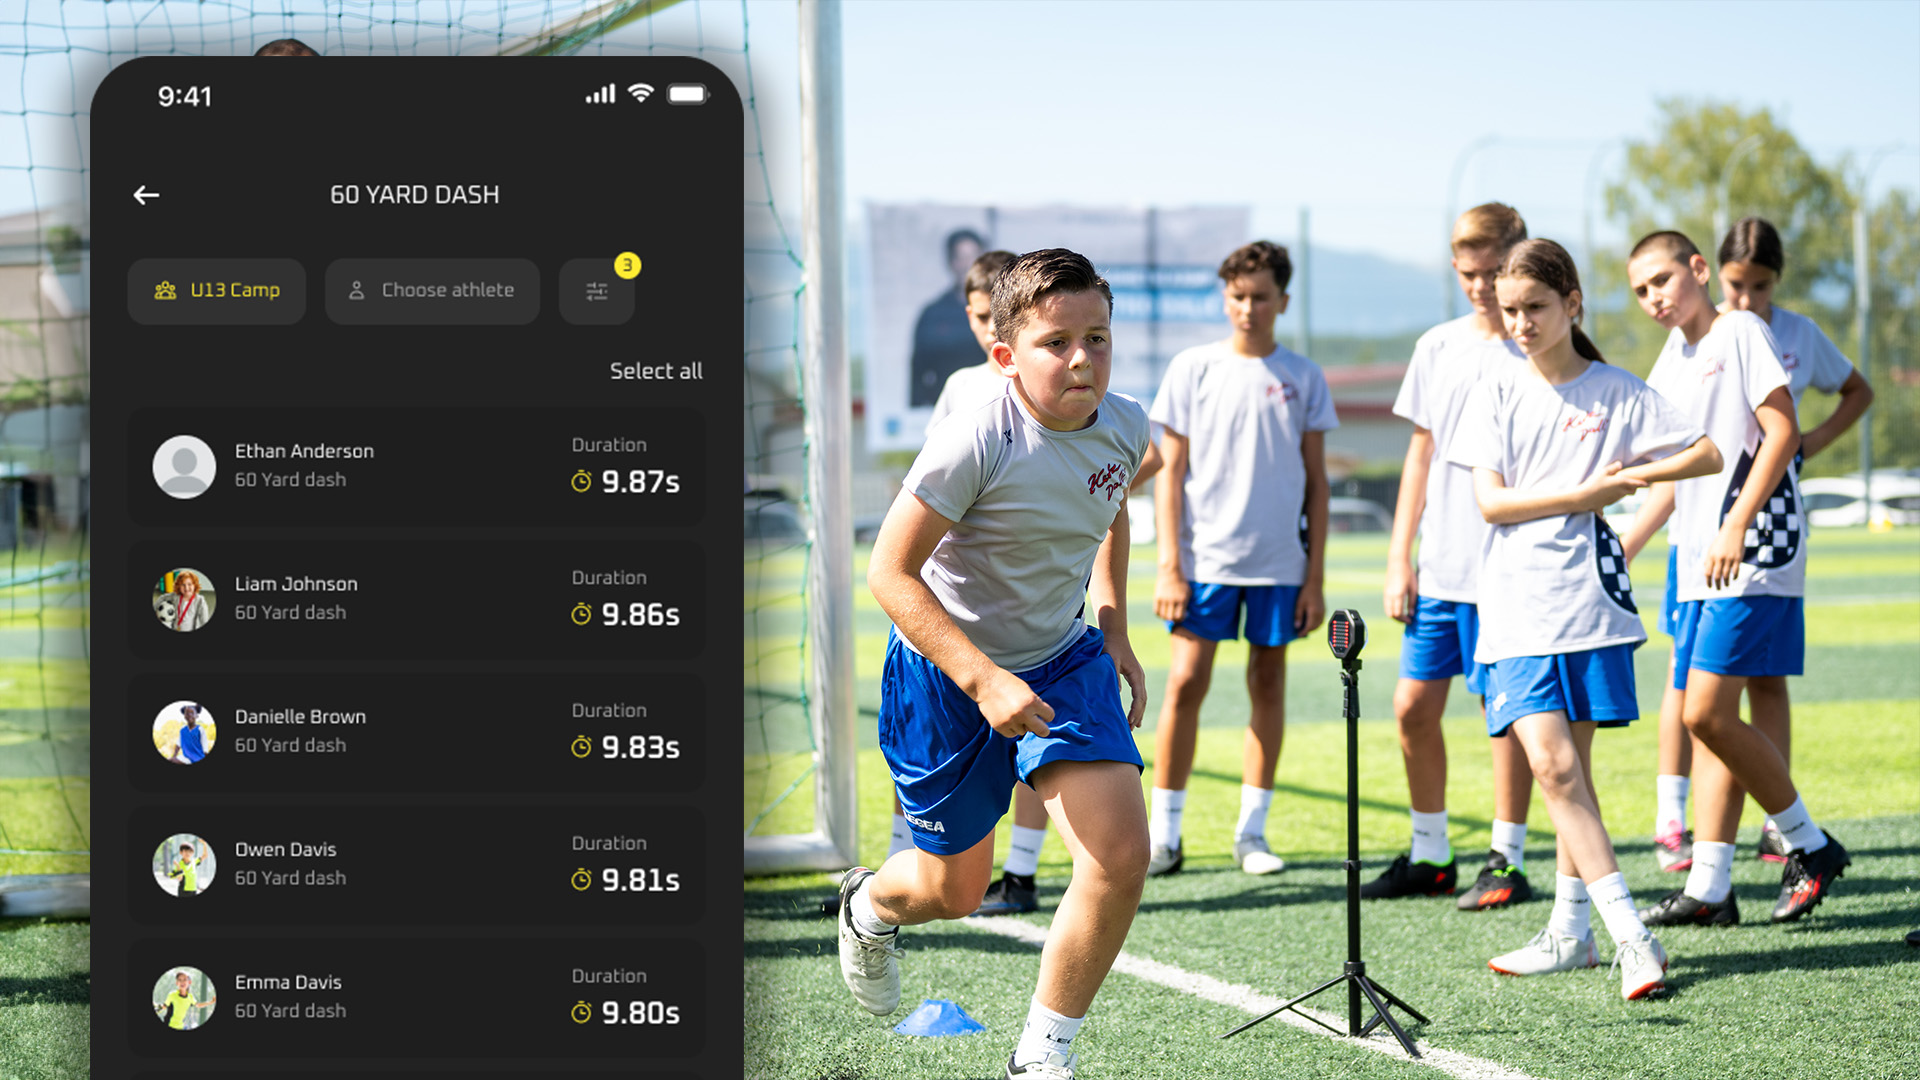
Manage Athletes Efficiently: Add 300+ athletes. Import data from camp organizers, create athlete profiles, save the results, and share them with athletes and their parents for added transparency.
Streamline Testing: Sportreact makes it easy to set up gates, align equipment, and conduct tests from variety of templates. You can arrange athletes, create custom tests, adjust their order, remove them from cycles, repeat runs if needed, and save results with just a few clicks. Use the Sportreact RFID feature to automate athlete identification via bracelets.
Analyze Data: Utilize the app’s features to compare results, visualize trends over time, and perform analyses at both individual and team levels (e.g., A-B teams, different age groups, or male vs. female teams). Check out more around Sportreact analytics.
Export Results: Export data in .xlsx format to integrate it into your athlete management system, spreadsheets, or other analytical tools.
Share and Apply Workouts: Based on test results, provide specific Sportreact drills and exercises to address individual weaknesses or enhance strengths.
BONUS - Sprint and CoD Report Example from Zlatko Dalić’s Camp
Here’s a brief overview of the results from our recent testing session. For the complete report example, click here.
Please note that the testing session report was created to give parents a more comprehensive view of their children's speed and change-of-direction abilities. The validity and reliability of the data presented are low, as the report's primary purpose is to provide peer comparison for the two age groups that attended the camp.
0-10-30 m/yd Sprint Test Results:
Age
0m-10m [s]
10m-30m [s]
30 meter [s]
AVG Speed [km/h] 0-10m
AVG Speed [km/h] 10-30m
AVG Speed [km/h] 30m
U13
2,122
3,038
5,159
17.04
23.83
21.03
U14
1,991
2,824
4,814
18.15
25.62
22.52
We tested two groups of athletes (U13 and U14), both male and female, totaling 48 athletes. A 0-10-30 meter sprint test was used to measure acceleration over 0-10 meters, speed from 10-20 meters, total time for 30 meters, and velocity for all three segments. The results were compared to normative data for sprint tests, which you can check out in the full report.
The average 30-meter sprint time for U13 athletes was 5.16 seconds, while for U14 athletes it was 4.82 seconds, which aligns with normative references. Several U14 athletes performed above their age group, while some U13 athletes were faster than their older peers. The results followed a normal distribution.
Illinois CoD Drill:
AGE
Illinois test time [s]
U13
17,946
U14
17,120
We tested two groups of athletes (U13 and U14), both male and female, totaling 51 athletes. The Illinois CoD test was used to measure acceleration total time for the whole testing run. The results were compared to normative data for the same test.
The average test time for U13 athletes was 17.9 seconds, while for U14 athletes it was 17.1 seconds, which aligns with normative references. Compared to the sprint test, we can see that the differences between results are less pronounced, and there are no significant deviations in the results for the older age groups.
Our Report and Insights
For the camp, we opted for a straightforward report to give parents a clear understanding of how their children performed compared to their peers. I recommend using this basic format as a foundation for camp testing analytics, and suggest incorporating additional testing parameters tailored to your specific goals.
It’s important to note that the normative data is based on an estimated range for children and adolescents, meaning actual performance may vary depending on factors like fitness level, training, and environmental conditions.
Key takeaways for parents:
Compare your child's performance with peers in the same age group.
Compare your child's performance with peers in different age groups.
Analyze different splits to identify strengths and areas for improvement in sprinting.
Consider results based on different gender and positions, as performance may vary.
Use this information to better understand growth opportunities and develop a plan with the coach.
For a detailed look at the full report example from the camp conducted by Zlatko Dalić, please check it out here.
5. Get ready for your next testing session
This short guide provides a clear perspective on testing large groups of youth soccer athletes during camp. It is an interesting age group, as it is often referred to as the 'Golden Age' for developing motor skills. I hope it helps you structure your testing sessions effectively. I recommend experimenting with different testing setups to gain a better understanding of what works and what doesn’t. Starting with smaller groups can be beneficial, as it reduces the potential for errors and is less resource-intensive.
For any additional questions, feel free to reach out to me and my team. Happy testing!
IVAN JOSIPOVIC
Meet Ivan: co-founder of Sportreact, brings 5 years of expertise in sports technology, exploring innovations in performance training, testing tools, and gym equipment.
A regular at events like NSCA conferences, FIBO, ISPO, and CES, Ivan shares insights on Sportreact updates, how-to guides, and inspiring testimonials from the sports world.
Sign up to get your exclusive offer and start training better today.
Thanks for submiting! Check out your inbox and spam fodler for extra offer.
Oops! Something went wrong while submitting the form.
Thanks for submiting! Check out your inbox and spam fodler for extra offer.
Oops! Something went wrong while submitting the form.
By signing up, you accept our privacy policy. Your personal data will be processed so that we can contact you about our products via email or WhatsApp. Read our Privacy Policy for more information.